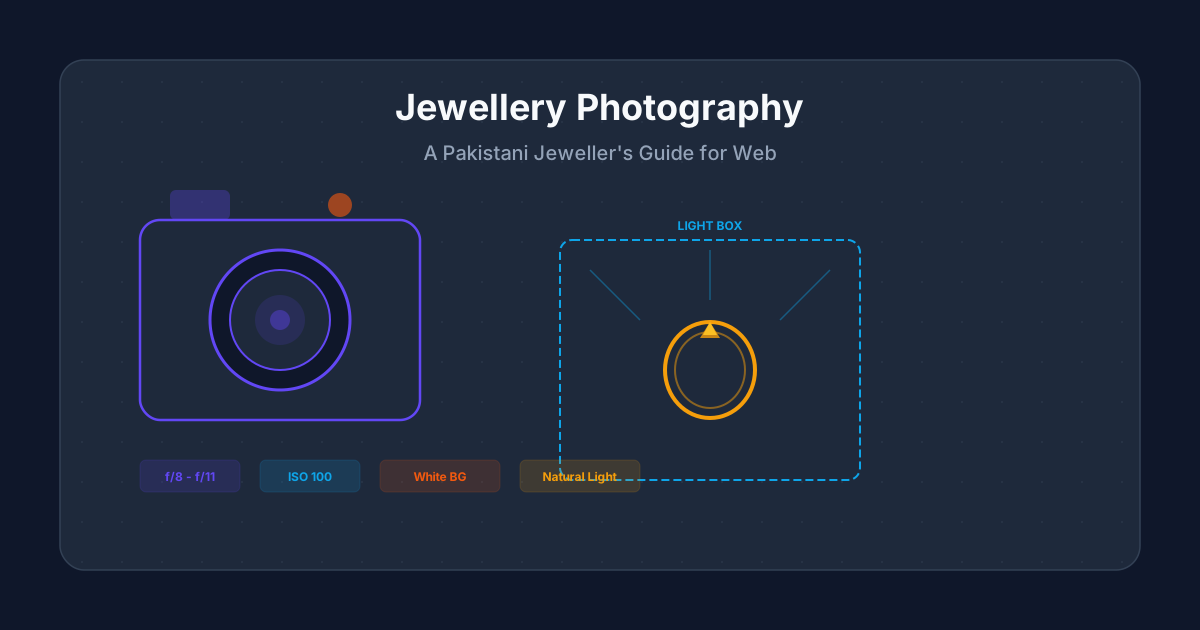
Product photography is the single biggest factor that determines whether a visitor buys jewellery from your website or leaves without adding anything to the cart. In Pakistan, where most jewellery buyers still prefer seeing pieces in person, your website photos need to do the work of a physical showroom. If you want to photograph jewellery for your website in a way that builds trust and drives sales, you need the right setup, consistent technique, and proper image optimization. This guide walks Pakistani jewellers through every step, from choosing a camera to uploading the final image to your jewellery website. Whether you shoot with a DSLR or a smartphone, the fundamentals of how to photograph jewellery for your website remain the same.
Why Jewellery Photography Matters More Than Any Other Product Category
Jewellery is one of the hardest products to photograph well. The pieces are small, highly reflective, and full of fine detail that buyers need to see before they trust an online purchase. In Pakistan, where the average gold necklace costs tens of thousands of rupees, a blurry or poorly lit photo instantly kills buyer confidence. Your customer is comparing your website photos to the polished display cases they see at jewellers in Anarkali, Tariq Road, or Peshawar Saddar. If your online images look amateur, they will drive to the physical store instead.
Research from e-commerce platforms shows that product pages with high-quality images convert three to five times better than pages with poor photos. For jewellery specifically, buyers want to see texture, stone clarity, clasp details, and accurate colour. When you shoot jewellery with proper lighting and backgrounds, you reduce return rates because customers know exactly what they are getting.
Pakistani jewellers who invest in good product photography also gain an advantage on Google Images, Instagram, and Pinterest, where visual search is growing rapidly. A well-shot image of a gold choker set can appear in Google Image results for queries like "gold choker design Pakistan" and bring free traffic to your site without any advertising spend.
Camera Options: DSLR vs Smartphone for Jewellery Photography
You do not need an expensive camera to shoot great jewellery product photos. Modern smartphones from Samsung, Apple, and Xiaomi shoot at resolutions far beyond what web images require. A phone camera is enough if you control lighting and use a tripod. The real question is whether you need the manual controls and lens options that a dedicated camera provides.
| Feature | Smartphone | DSLR / Mirrorless |
|---|---|---|
| Cost | Already own one | 60,000 to 200,000+ PKR |
| Manual controls | Limited (Pro mode) | Full manual control |
| Macro capability | Clip-on lens needed | Dedicated macro lens available |
| Depth of field | Software blur (portrait mode) | Real optical bokeh |
| Learning curve | Low | Medium to high |
| Speed per shot | Fast | Slower with manual focus |
| Output quality for web | Excellent (1200px) | Excellent (1200px+) |
For most Pakistani jewellers starting their online jewellery store, a smartphone with a clip-on macro lens and a tripod is the most practical starting point. You can always upgrade to a DSLR later once your online sales justify the investment. The important thing is consistency: every product on your site should look like it was shot in the same session with the same setup.
Lighting Setup: The Foundation of Good Jewellery Photos
Lighting is the single most important factor when you photograph jewellery for your website. Bad lighting creates harsh shadows, hides gemstone sparkle, and makes gold look dull or orange. Good lighting reveals detail, creates even tone, and makes your pieces look as good on screen as they do under showroom halogen lamps.
Natural Light Setup (Free)
Place your shooting area next to a large window that gets indirect sunlight. Direct sunlight creates harsh reflections on metal, so a north-facing window or a window with a sheer white curtain works best. Shoot between 10 AM and 2 PM when light is strongest but still diffused. Use a white foam board on the opposite side of the window as a reflector to fill in shadows. This setup costs nothing and produces results that compete with professional studios.
Artificial Lighting for Consistent Results
If you shoot jewellery product images regularly, natural light has a major drawback: it changes throughout the day and across seasons. Artificial lighting gives you the same result at 2 PM or 2 AM. For Pakistani jewellers who photograph new arrivals weekly, a consistent light source saves hours of colour correction.
- Two softbox lights (5500K daylight bulbs) positioned at 45-degree angles to the product. Budget: 4,000 to 8,000 PKR for a pair from Daraz or a photography shop in Hall Road, Lahore.
- One LED ring light for small pieces like rings and earrings. Budget: 1,500 to 3,500 PKR. Place the jewellery inside the ring for even, shadow-free lighting.
- A light tent or light box (40cm or 60cm) for diffused, all-around lighting. Budget: 2,000 to 5,000 PKR. This is the easiest way to get studio-quality results without experience.
- Avoid mixing natural light with artificial light in the same shot. This creates colour casts that are difficult to fix in editing. For gold jewellery, slightly warm lighting (around 5000K to 5500K) preserves the natural gold tone. For silver and platinum pieces, stick to 5500K to 6500K daylight temperatures to keep the metal looking cool and clean. Always set your camera white balance to match the bulb temperature rather than using auto white balance, which shifts colour between shots.
Background Choices That Make Your Jewellery Stand Out
The background in your jewellery photos affects both the product appearance and the overall look of your website. Consistency matters more than creativity. Every product page on your jewellery website should use the same background style so the catalogue feels professional.
| Background Type | Best For | Difficulty | Cost |
|---|---|---|---|
| Pure white | E-commerce catalogues, Google Shopping | Easy | 100 PKR (white card) |
| Light grey | Silver and diamond pieces | Easy | 100 PKR (grey card) |
| Black velvet | Gold pieces, luxury feel | Medium (reflections) | 500 PKR |
| Marble tile | Lifestyle/social media shots | Easy | 300 PKR |
| Fabric drape | Styled editorial shots | Medium | 200 PKR |
For your main product pages, use a clean white or light grey background. This is the standard across every major jewellery e-commerce site including Tiffany, Tanishq, and local brands like Hanif Jewellers. White backgrounds also perform better on Google Shopping, which clips out product images automatically. Save textured or coloured backgrounds for lifestyle shots used on Instagram or the homepage gallery.
Camera Settings for Sharp, Detailed Jewellery Images
Whether you use a DSLR or smartphone Pro mode, these settings will give you sharp, well-exposed jewellery photos every time. The goal is maximum sharpness with accurate colour. When shooting jewellery product photos, consistency in settings matters as much as the settings themselves.
- Aperture: f/8 to f/11 for maximum depth of field. At f/2.8 or f/4, only part of the piece will be in focus, which is fine for artistic shots but not for product pages where buyers need to see every detail.
- ISO: Keep ISO at 100 or 200 to avoid noise. Jewellery photos are often cropped or zoomed on product pages, and noise becomes visible quickly at ISO 400 and above.
- Shutter speed: Use a tripod and set whatever shutter speed the exposure requires. With a tripod, even 1/10th of a second produces sharp images. Never hand-hold below 1/60th.
- White balance: Set manually to match your light source (5500K for daylight bulbs). Do not use auto white balance because it shifts colour between shots, making gold look different across your catalogue.
- Focus: Use manual focus or single-point autofocus aimed at the front detail of the piece (the stone, the pendant, or the main design element). Avoid area autofocus, which may focus on the background.
- Format: Shoot in RAW if your camera supports it. RAW files allow much better colour correction and exposure adjustment in editing. If using a phone, shoot at maximum resolution in HEIF or JPG.
Smartphone Photography Tips Specific to Jewellery
Most Pakistani jewellers will photograph jewellery for their website using a phone, at least initially. Smartphones have limitations, but these tips close the gap between phone and DSLR results.
- 1.Use a phone tripod or clamp. Hand shake at close range ruins macro detail. A tripod clamp costs 500 to 1,500 PKR.
- 2.Switch to Pro or Manual mode. This lets you lock white balance, ISO, and focus distance so every shot matches.
- 3.Use the 2x or 3x telephoto lens instead of the main wide-angle lens. Wide-angle distorts small objects. The telephoto lens compresses the image and shows accurate proportions.
- 4.Turn off HDR. HDR processing flattens contrast and can make metals look unnatural. Keep it off for product photography.
- 5.Add a clip-on macro lens for extreme close-ups of gemstone settings or hallmark stamps. Budget: 600 to 2,000 PKR from Daraz.
- 6.Use the timer or a Bluetooth shutter remote. Tapping the screen to shoot introduces shake, especially at close distances.
- 7.Clean your phone lens before every session. Fingerprints cause haze that softens detail, especially under bright lighting.
Shooting Angles Every Jewellery Product Page Needs
A single photo is not enough for a jewellery product page. Buyers want to see the piece from multiple angles to judge size, shape, and craftsmanship. Missing angles increase doubt, which increases bounce rate and reduces conversions on your e-commerce store.
- Front-facing hero shot: The primary image showing the full piece. This is the thumbnail that appears on category pages and search results.
- 45-degree angle: Shows depth and three-dimensionality. Essential for rings, bangles, and bracelets that look flat in front-on shots.
- Close-up detail shot: Zoomed in on the stone setting, engraving, or hallmark. Builds trust by showing craftsmanship.
- Scale reference shot: The piece worn on a hand, neck, or ear, or placed next to a coin for size context. Pakistani buyers consistently ask about size in WhatsApp messages before buying; this photo answers the question preemptively.
- Back view: Shows clasp mechanism, back finish, and hallmark stamp. Important for necklaces and bracelets.
Shoot all five angles for every product in your catalogue. Yes, this takes more time. But five good images per product reduce WhatsApp enquiries, lower return rates, and increase the average time visitors spend on your product pages. If you are short on time, the hero shot and the scale reference shot are the two most important.
Editing Your Jewellery Photos: Tools and Workflow
Even with perfect lighting and settings, your jewellery photos will need editing before they go on your website. Editing does not mean faking the appearance. It means correcting white balance, removing dust spots, and ensuring consistency across your catalogue. A solid editing workflow saves more time than reshooting.
Free Editing Tools
- Snapseed (Android/iOS): Best free mobile editor. Use the White Balance, Curves, and Selective tools. Great for quick edits between shoots.
- GIMP (Desktop): Free Photoshop alternative. Handles RAW files, batch editing, and background removal. Learning curve is steeper but the tool is powerful.
- remove.bg: Free background removal tool. Upload your photo and get a clean white background in seconds. Works well for product catalogue shots.
Paid Editing Tools
- Adobe Lightroom (Mobile/Desktop): The industry standard for product photography editing. Presets let you apply the same colour correction to hundreds of images. Costs around 3,000 PKR per month.
- Canva Pro: Good for adding lifestyle context, text overlays, and social media crops. Costs around 1,500 PKR per month with an annual plan.
Create a preset or template that you apply to every jewellery image: same brightness, same contrast, same white balance, same crop ratio. This ensures your catalogue looks unified. A catalogue where every ring photo has slightly different lighting or colour tone looks unprofessional and makes buyers question whether the pieces look different in person.
Image Optimization: Making Photos Load Fast Without Losing Quality
Large image files are the number one reason jewellery websites load slowly in Pakistan. Your visitors are browsing on 3G and 4G connections, and a single unoptimized photo can add three to five seconds to page load time. Every extra second costs you sales. Optimizing images is the final step after you photograph jewellery for your website.
- Resize images to 1200px wide for product pages and 600px for thumbnails. Your website does not need 4000px originals.
- Use WebP format as the primary format. It gives 25% to 35% smaller files than JPEG at the same visual quality. Most Pakistani visitors use Chrome, which supports WebP natively.
- Compress images with tools like TinyPNG, Squoosh, or ShortPixel before uploading. Aim for under 100 KB per product image.
- Add descriptive alt text to every image: "22K gold choker necklace with kundan setting" is better than "IMG_4521.jpg". Alt text helps your images rank in Google Image search.
- Use lazy loading so images below the fold load only when the visitor scrolls down. This makes the initial page load faster, especially on catalogue pages with dozens of products.
- If your Shopify jewellery store uses Shopify's built-in image processing, it handles resizing and format conversion automatically. For WordPress or custom-built sites, use a plugin like ShortPixel or Imagify that compresses images on upload. The key is to automate optimization so you never accidentally upload a 5 MB raw file to your live product page.
| Format | Best For | File Size (1200px) | Quality |
|---|---|---|---|
| WebP | All modern browsers | 40 to 80 KB | Excellent |
| JPEG (80% quality) | Fallback for older browsers | 80 to 150 KB | Good |
| PNG | Transparent backgrounds only | 200 to 500 KB | Lossless |
| AVIF | Next-gen (Chrome, Firefox) | 30 to 60 KB | Excellent |
Common Mistakes Pakistani Jewellers Make With Product Photos
After working with jewellers across Lahore, Karachi, and Peshawar, these are the mistakes we see most often when owners photograph jewellery for your website without a proper process.
- 1.Using the flash. Camera flash creates harsh reflections on metal and washes out gemstone colour. Always use external or natural lighting instead.
- 2.Shooting on a cluttered background. A bedsheet, a marble kitchen counter with visible grout, or a showroom shelf with price tags in the background all look unprofessional. Use a clean, solid background.
- 3.Inconsistent image sizes and ratios. Some products shown in landscape, others in portrait, others cropped to squares. Pick one ratio (4:3 or 1:1 for e-commerce) and use it for every product.
- 4.Uploading original camera files without optimization. A 4 MB image that takes eight seconds to load on mobile will make your visitor leave before seeing the product.
- 5.No model or scale reference. Buyers cannot tell if a pendant is 1 cm or 5 cm from a solo product shot. Include at least one worn or scale reference photo per product.
- 6.Colour inconsistency across the catalogue. If one ring looks warm yellow and the next looks greenish gold, buyers assume the photos are inaccurate and lose trust.
Budget Breakdown: Setting Up a Jewellery Photography Station in Pakistan
You do not need to spend a fortune to photograph jewellery for your website professionally. Here is a complete setup guide with real Pakistan market prices.
| Item | Budget Option | Professional Option |
|---|---|---|
| Camera | Your smartphone (0 PKR) | Canon EOS M50 Mark II (120,000 PKR) |
| Tripod | Phone clamp tripod (800 PKR) | Manfrotto tabletop (8,000 PKR) |
| Lighting | Window + foam reflector (200 PKR) | 2x softbox kit (6,000 PKR) |
| Light box | DIY cardboard box (300 PKR) | 60cm professional (4,000 PKR) |
| Background | White card (100 PKR) | PVC backdrop roll (1,500 PKR) |
| Macro lens | Clip-on phone macro (800 PKR) | Canon EF-S 60mm macro (45,000 PKR) |
| Editing software | Snapseed free (0 PKR) | Lightroom (3,000 PKR/month) |
| Total | 2,200 PKR | 187,500 PKR |
Start with the budget column. You can produce excellent product photos for your jewellery website with under 3,000 PKR in equipment. The professional column is for jewellers who photograph dozens of new pieces weekly and need maximum speed and consistency. Most jewellers in Pakistan start with the budget setup and upgrade individual components as their online sales grow.
How to Photograph Jewellery for Your Website: Step-by-Step Workflow
Here is the complete workflow to photograph jewellery for your website from setup to upload. Following this sequence ensures consistent, professional results every time.
- 1.Clean every piece with a microfiber cloth. Fingerprints and dust are invisible to the naked eye but obvious in close-up photos.
- 2.Set up your lighting (natural window light or softbox kit) and position the reflector opposite the main light source.
- 3.Place the background surface (white card, grey card, or velvet) inside the light box or on your shooting table.
- 4.Mount your camera or phone on the tripod at the angle you want for the hero shot. Lock it in place.
- 5.Set camera to manual mode: ISO 100, f/8, white balance to match your light, single-point autofocus.
- 6.Place the first piece and focus on the front detail. Use a remote shutter or timer to avoid shake.
- 7.Shoot the hero, 45-degree, close-up, back, and scale reference angles. Do not move the lighting between angles.
- 8.Move to the next piece without changing any settings. This keeps your entire catalogue consistent.
- 9.Import all images to your editing tool. Apply your saved preset for white balance, brightness, and contrast.
- 10.Crop to your standard ratio (4:3 or 1:1), export as WebP at 1200px width, and upload to your website with descriptive alt text.
This workflow takes about five to eight minutes per piece once you have practiced it a few times. A jeweller with 50 pieces can photograph their entire catalogue in a single day. The time investment pays for itself through higher conversion rates, fewer WhatsApp size enquiries, and better Google Image rankings for your jewellery website.